The weather is cooler this week now that fall is finally decided to show up. We still have some green leaves on the trees making for some lovely shade in our garden which I adore. Before it gets too cold I still plan more outdoor dinners and time to take naps on the trampoline...makes for a great hammock!
We are just about finished reading The Blessed Child by Ted Dekkar and Bill Bright. It will be sad to end yet another heartwarming story to move on to the next one. We all have enjoyed this glimpse into God's miraculous nature that The Blessed child has revealed.
We are also completing our memorization of skip count song X6 about the monkey's in the jungle and will be learning X7 next week. I have been implementing more living math methods in our approach towards multiplication. So now that we have arrived at the X6 tables I am slowing down on how much new stuff I am presenting them to be sure they are really understanding the why of the table.
“The child may learn the multiplication-table and do a subtraction sum without any insight into the rationale of either. He may even become a good arithmetician, applying rules aptly, without seeing the reason of them; but arithmetic becomes an elementary mathematical training only in so far as the reason why of every process is clear to the child. 2+2=4, is a self-evident fact, admitting of little demonstration; but 4x7=28 may be proved." (Vol. 1 pp. 255, 256)So next week I'll explain how we did this. In the handbook Mathematics: An Instrument for Living Teaching gives some guide lines:
1 2 3 4 5 6 7 8 9 10 11 12“To help the children to see the rationale of the multiplication table, they at first construct each one for themselves with the teacher’s assistance, e.g., suppose it were 4 times, the teacher begins ‘I write down one 4 on the board with a small 1 above it, to show how many fours I have. Then I write down another four, how many have I?’ ‘Two.’ ‘How much have I now, two fours that is?’ ‘Eight.’ Put eight down underneath the second 4. Now write down another four, we have three fours or 12, similarly four fours or 16, five fours or 20, and so on to the end of the table, 12 fours or 48, until the whole table stands:(Stephens, 1911, p. 10).
4 4 4 4 4 4 4 4 4 4 4 4 4 4
equals4 8 12 16 20 24 28 32 36 40 44 48
They will see ( I trust) how the skip counting helps with the table and how multiplication is a simple way to do addition.
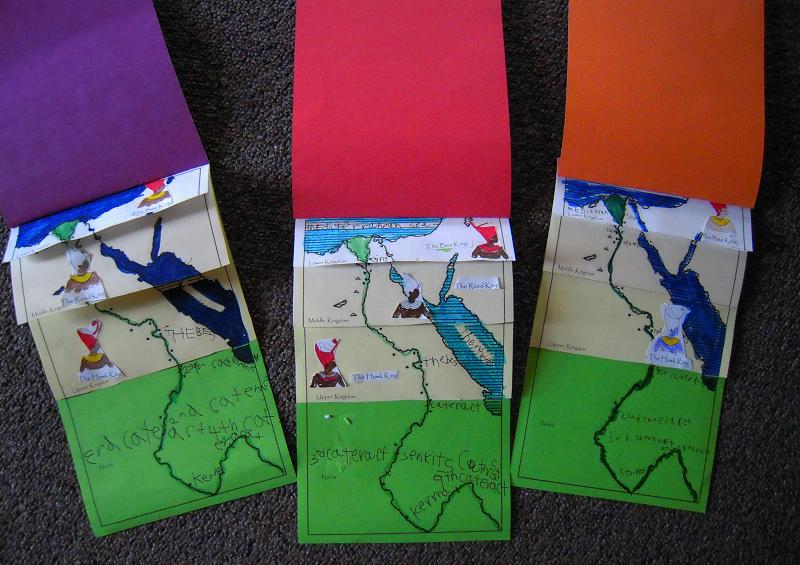
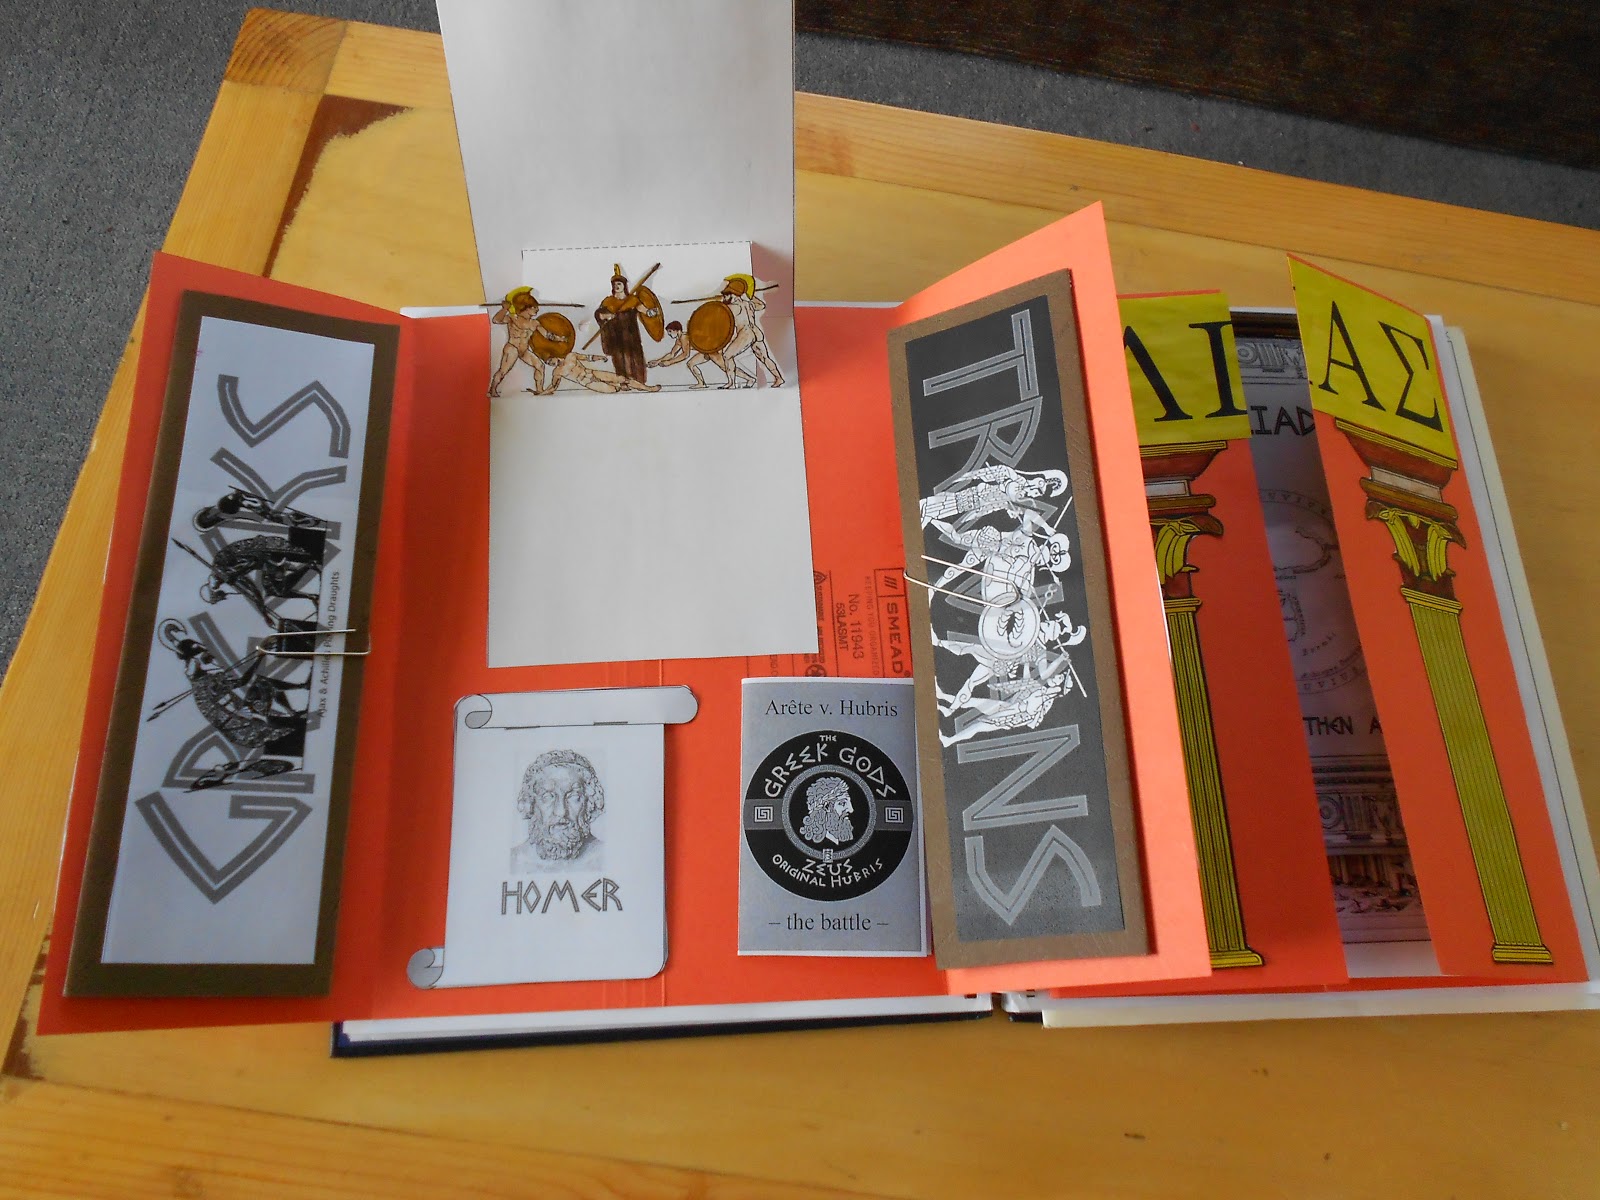
Much of my time this week has been spent preparing a lapbook centered around The Iliad by Homer. We have been reading Rosemary Sutcliff's version (Black ships Before Troy) of this epic poem which is actually written in a narrative form. On our next pass through this fascinating portion of history we will read the poem written by Homer.

To prepare the lapbook I print off the pages, cut them out and assemble parts that would be time consuming and irrelevant to the point of the book. Some things by doing them the boys will learn more about the story, other things are just busy work, I save them that. So once the mini books are ready I put them into a plastic pouch and save them for the boys. This time I fashioned the lap book to fit into our spiral bound scrapbook.

Just a glimpse of the mini books all out of the pocket.

The boys spent time coloring the pieces that made up the two front covers before we pasted them onto the cover and then into the spiral bound book. We limited the colors used to just browns and yellows to see how the colors will tie the whole lapbook together visually. This was an unpopular suggestion on my part and though the boys did it, they asked that they could decide on the colors next time. So though it looks great this way it is theirs and next time you will see the colors they choose.

Here is Zak's completed covers pasted in the notebook. We now have a lapbook in a note book. I am not sure if we are lapbooking or notebooking but probably the former rather than the latter. Either way it is working rather well. :)
We did put the mini books together and into place, but we have not yet written in them, colored them or done any sort of real study using them. In the end we will have understood better who killed who, who fought with the Trojans and who fought with the Greeks. We will know the family tree of the Greek gods and which gods played a part in this story. And last put the story on the map.

More entries made this week in the Aesop copywork book. Zak really caught onto this assignment and though I require only one fable a day he has been doing two or three hoping to get more and more treats for good handwriting. Very cute!
The boys are all sad that the Burgess Bird Book is drawing to a close. They are counting the pages that are left and savoring them. I suggested we read the book again, for there are so many things you can do to compliment this book and dig a little deeper into the information he so wonderfully presents about birds. I am strongly considering this but have not yet decided. What would you do? The boys were intrigued. I mean really, who said you can only read a book once? And then there are the issues brought up in my mind regarding illustrations and CM's methods. I like this quote from this article and am pondering just what part adding more to the reading of the story will play in their minds.
Our senses, it seems to me, are some of the tools we have for taking in information, but they are not the primary tools for learning. This is a major problem in much of the world of education today. There is much talk about learning styles, and I suppose it is helpful to know one’s learning style, but the fact is, taking information in is not the same as processing that information, or, as Mason said, “labouring with the mind.” This is the step that many children never get to take in their learning process. This is the purpose of narration, which Mason called “the act of knowing” (p. 17). In fact, we may have preferences as to which sense we prefer to take in information (visually, kinesthetically, aurally, tactically, or odoriferously), but this is not the same as owning new information. Mason says, “We trust much to pictures, lantern slides, cinematograph displays; but without labour there is no profit.”
I'll tell you what I came up with next week.
Another thing we completed this week: Memorized the Poem "A Secret." We did it the same we memorized the first poem, with drawing pictures, copywork and lots of reading and repetition. Now we are off to do some dictation the boy's favorite exercises. No really, it is!
We are getting to the end of Toad Triumphant too. This week seemed to be a week of many endings. Thus I am soooo excited for next week which will be full of beginnings. :)

We veered away from the dialogues this week to look into the grammar of Latin. It was just a peek. I printed off cards with nouns (animals), cards with adjectives. The first day we simply played concentration with the animals to learn their names in latin.
On the second day we together matched the adjectives with the animals according to their gender. SImply collectively making up funny sentences with just the nouns and adjectives.
Then on the third day I hand printed two cards for each with the verbs we know thus far, erit (will be) and est (is). They first took the pile of adjectives and separated the masculine ones from the feminine ones, then I gave them each an animal and they created sentences matching the gender of the noun with the gender of the adjective. Then they read out their sentence in Latin and translated it to us using the words to help sheet below.

The cards for the animals and the adjectives were from the Minimus Teacher's guide, but the Words to Help sheet I made myself in Publisher.

To enhance the Klee inspired 3-D cities we painted last week we added some black lines, wow, they look so much better. These are Max's paintings.

Mostly this week we have been working on drawing and coloring 'inchies.' of Paul Klee's art works. Each square is 2 inches by 2 inches. We plan to make twelve in all and so far the boys have made 6 each, so we are halfway there.

Last week we finished reading A Day with Tchaikovsky so this week we listened to Tchiakovsky Comes to America a production by Classical Kids. Now onto a long look at the NutCracker Ballet. The boys will love this!
Lastly this week we went indoors to add an entry into our nature notebooks. Is wasn't because the weather was bad, but that it seemed a good time to add in a little skill training to our nature observation. We used basic contour drawings to develop the eye and train the coordination between what you see and what you draw.

We did go out to get something to draw and then we drew the contour or outside edges of the specimen we selected. Then on another sheet of paper we tried a blind contour drawing looking only at the specimen and not at our papers. I did it first to show them how silly it will look and so they would not be afraid to just give it a go. This technique develops the best hand eye coordination needed for drawing. It was hilarious, fun and relaxed us all. Then they drew their specimen having had a good look at it now adding in as many details as we could see.


Hope your week was a good one too!